A Quick Tip for Mac Screenshots
A Quick Tip for Mac Screenshots
Assuming you have an iPad or iPhone handy

I usually prefer to write on my Mac because the keyboard is not taking up any part of my screen and it’s easy to adjust screen resolution with CMD+ and CMD-.
However, I seldom take screenshots there because I often only want to edit the image, pop it into whatever I’m writing about, and throw it away. Unless I absolutely need the Mac screen for my article, I’ll usually use my iPad or my iPhone to grab what I need. It feels less clumsy and far quicker to do that.
Another reason I prefer the iPad is because I can do markup with my Apple Pencil.
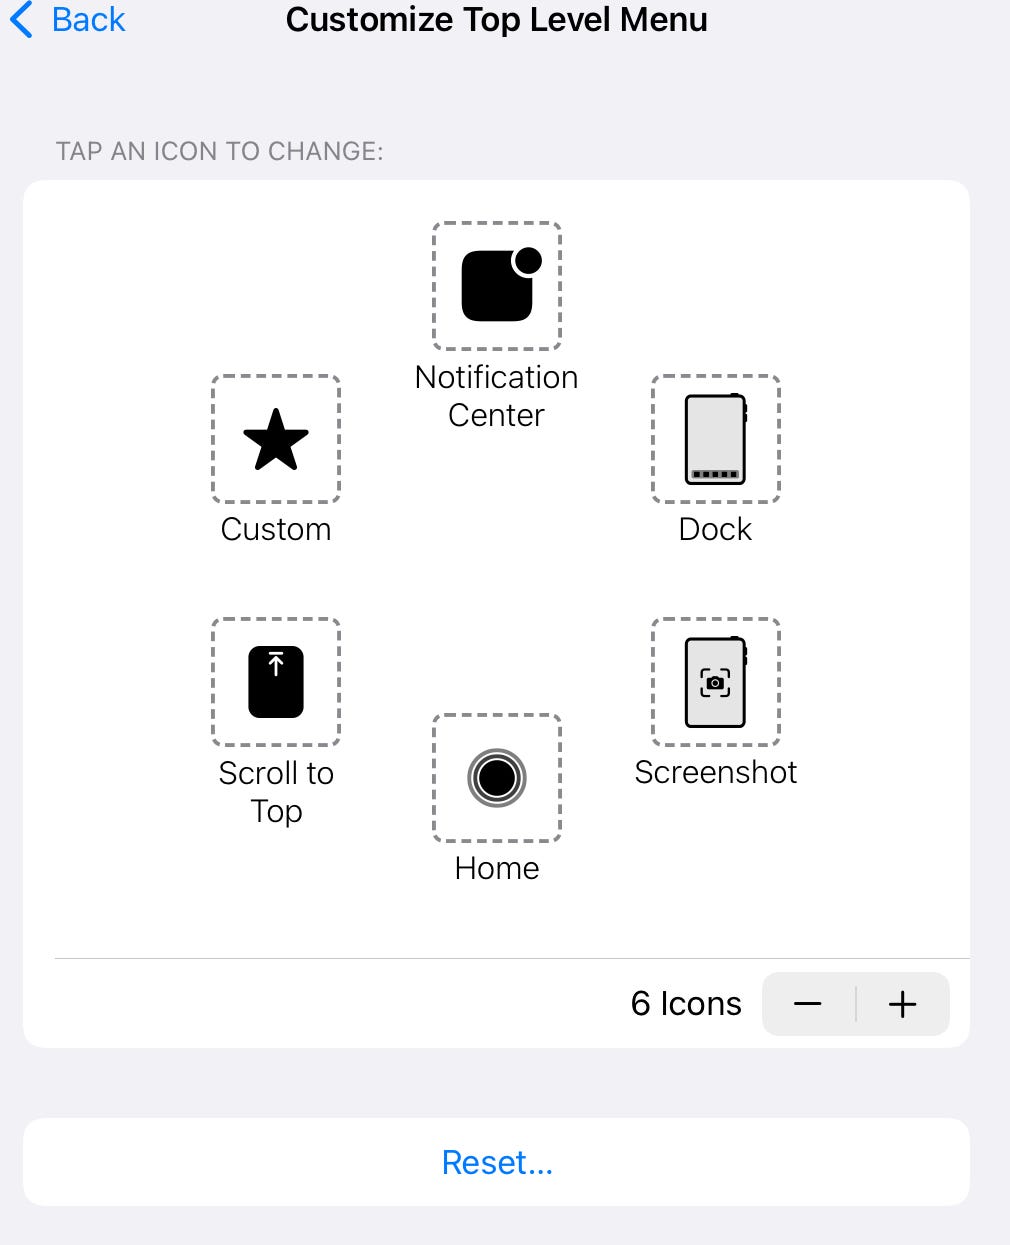
If you use IOS devices, you probably know that you can use a floating Accessibility feature called AssistiveTouch to make things like screenshots even easier than the two button click normally required. I keep Screenshot and a few others in mine.
When you take an IOS screenshot, it drops down to the bottom left of the screen and remains there for a little bit before moving to Photos. If you click on that before it leaves your screen, you can edit it, Airdrop it to your Mac, and then delete the image so it doesn’t clutter up Photos.
Because my devices are signed into the same iCloud account, there’s no response needed on the Mac — the image is just sent.
The image ends up in the Mac Downloads folder where you can pick it up to insert into your post. It’s all very quick and very neat.
I also use Airdrop if I take a photo with my iPhone. It’s often quicker than waiting for an iCloud sync and I simply delete it from Photos when done.
See this for more multi-device tips:


Comments
Post a Comment