How Much Space Does Optimize Mac Storage Use?
How Much Space Does Optimize Mac Storage Use?
And what’s in that local storage?
I was listening to the Mac Geek Gab Podcast this morning and heard a short discussion where a listener wondered how much disk space Optimize Mac Storage takes up.
TL;DR: Optimizing Mac Storage helps you use iCloud storage when your disk is low on space and also tries to keep commonly accessed iCloud files local for quick access. This iMore post explains the details.
I started using these features years back when I was running out of storage on my laptop. I upgraded to a larger iCloud account, turned all that on, and was able to limp along with the laptop for a few more years.
Today I have the Apple One Premier Subscription, which gives me 2 TB of iCloud storage but I am only using 93 GB of that. My M1 Air came with a 250 GB drive and I am using about half of it, so the value of optimized storage for me now is having some iCloud files locally available while having access to those files from my iPad and iPhone.
So what’s local and what’s not?
That’s an easy one to answer. Call up Finder and click on iCloud Drive.
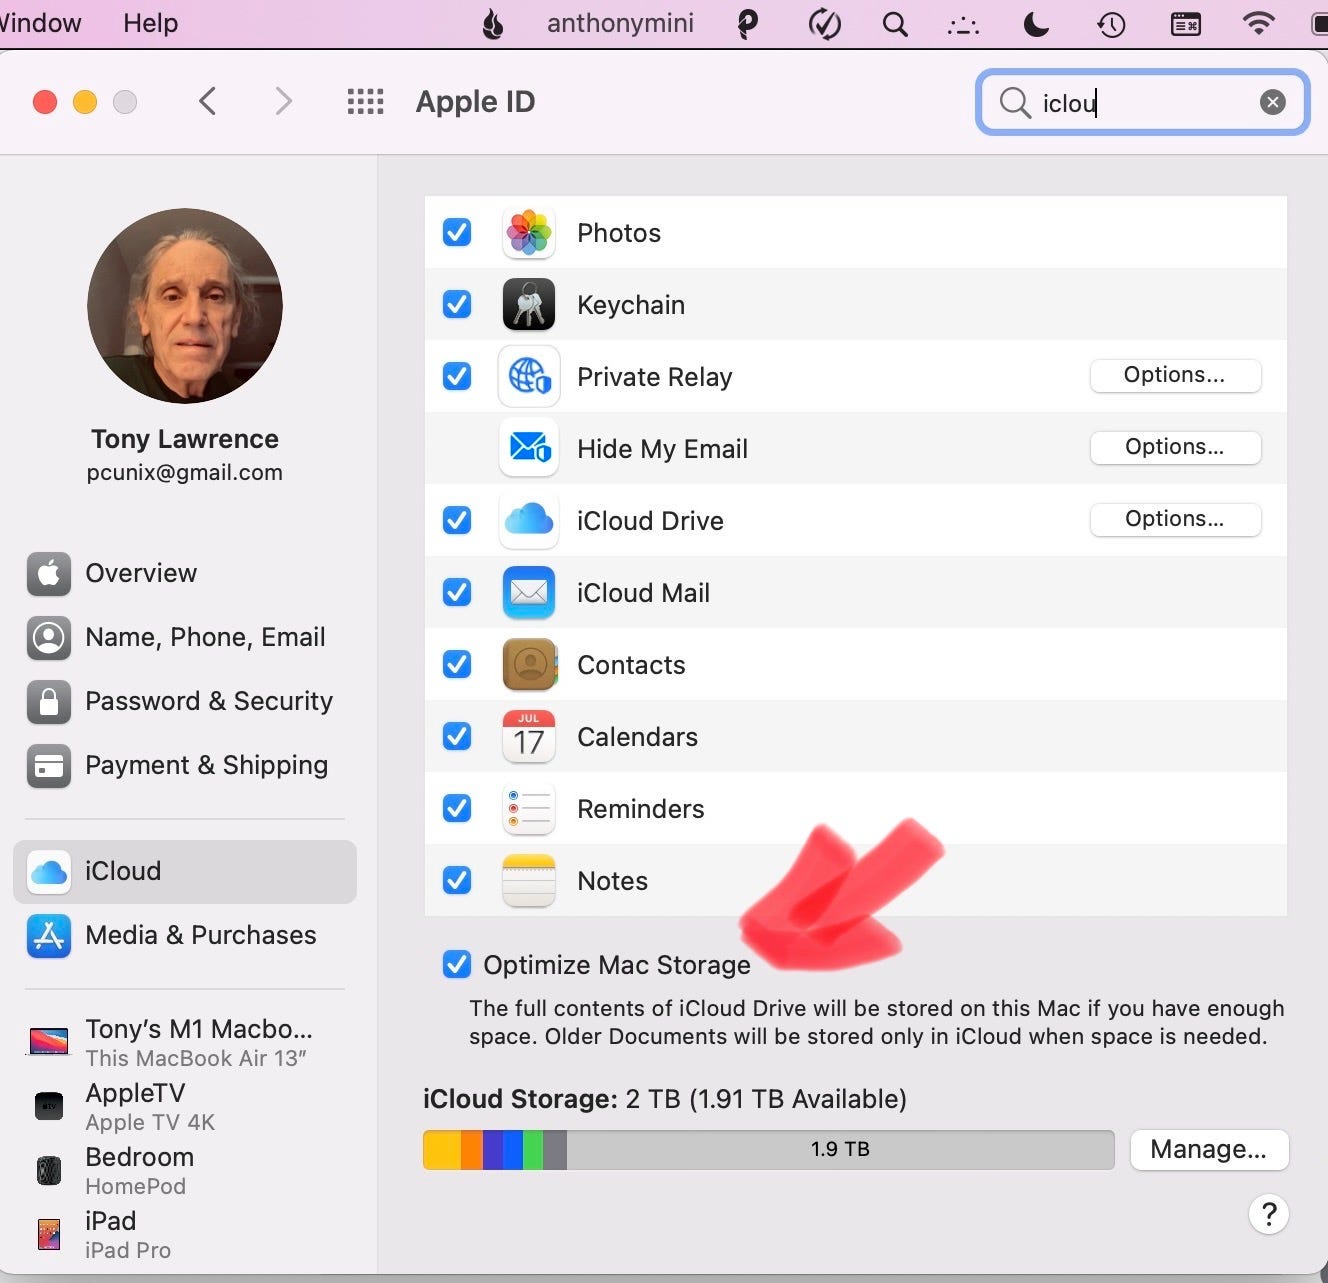
If you don’t see iCloud Drive, you never turned it on in iCloud preferences. Look closely at the main screenshot here to see where I turned that on.
Your screen will look something like this:

See the column that has those clouds with an arrow pointing down? Those files are in iCloud, not local. The ones without that symbol are local.
If you click on one of those cloud files, it will be downloaded (assuming you have sufficient space).
How much space do they use?
Take a deep breath. We have to go to the terminal program for this.
DO NOT PANIC. This is easy. All you have to do is copy this command, open Terminal, and paste it in.
du -sh ~/Library/Mobile\ Documents/To open Terminal, hold the Command key, hit the spacebar, type Terminal, and press Enter. Wasn’t that easy? On my computer, the result looks like this.
% du -sh ~/Library/Mobile\ Documents/
1.0G /Users/anthonymini/Library/Mobile Documents/
Which shows me that I’m using just one GB of local storage.
Or I can do this:
% du -sh ~/Library/Mobile\ Documents/* | sort -rn | head955M /Users/anthonymini/Library/Mobile Documents/com~apple~CloudDocs
220K /Users/anthonymini/Library/Mobile Documents/com~apple~TextInput
128K /Users/anthonymini/Library/Mobile Documents/com~apple~Pages
96K /Users/anthonymini/Library/Mobile Documents/com~apple~TextEdit
88K /Users/anthonymini/Library/Mobile Documents/iCloud~is~workflow~my~workflows
76M /Users/anthonymini/Library/Mobile Documents/iCloud~com~apple~iBooks
60K /Users/anthonymini/Library/Mobile Documents/X5AZV975AG~com~soulmen~ulysses3
52K /Users/anthonymini/Library/Mobile Documents/com~apple~mail
40K /Users/anthonymini/Library/Mobile Documents/com~apple~Keynote
32K /Users/anthonymini/Library/Mobile Documents/3L68KQB4HG~com~readdle~CommonDocuments
That shows me the ten biggest local optimized folders.
The commands:
“du -sh” shows the disk usage of folders; “sort -rn” sorts files in reverse numerical order ; “head” shows the first ten lines of what it was sent by the previous commands through the “|” pipe symbol. You could use “head -20” to get 20 lines, “head -5” for just 5, and so on.
Why can’t I just use Finder?
Because if you try to go to ~Library/Mobile Documents in Finder, it will put you in iCloud Drive and show you both local and cloud files.
I need clean up some stuff
The About This Mac under the Apple menu can help. Go there, click Storage, Manage, and then Reduce Clutter. This view can be quite helpful.

Any questions? Ask in the comments.


Comments
Post a Comment